 |
| The gantry, complete with trolley and chain hoist is ready to go. |
We hoisted the board off the wood block on which it has been resting for the past several months, and into a hanging position for painting. The primer I used held up perfectly, and we were ready for bottom paint. I applied three coats, since I hope not to see the centerboard again for a good long time.
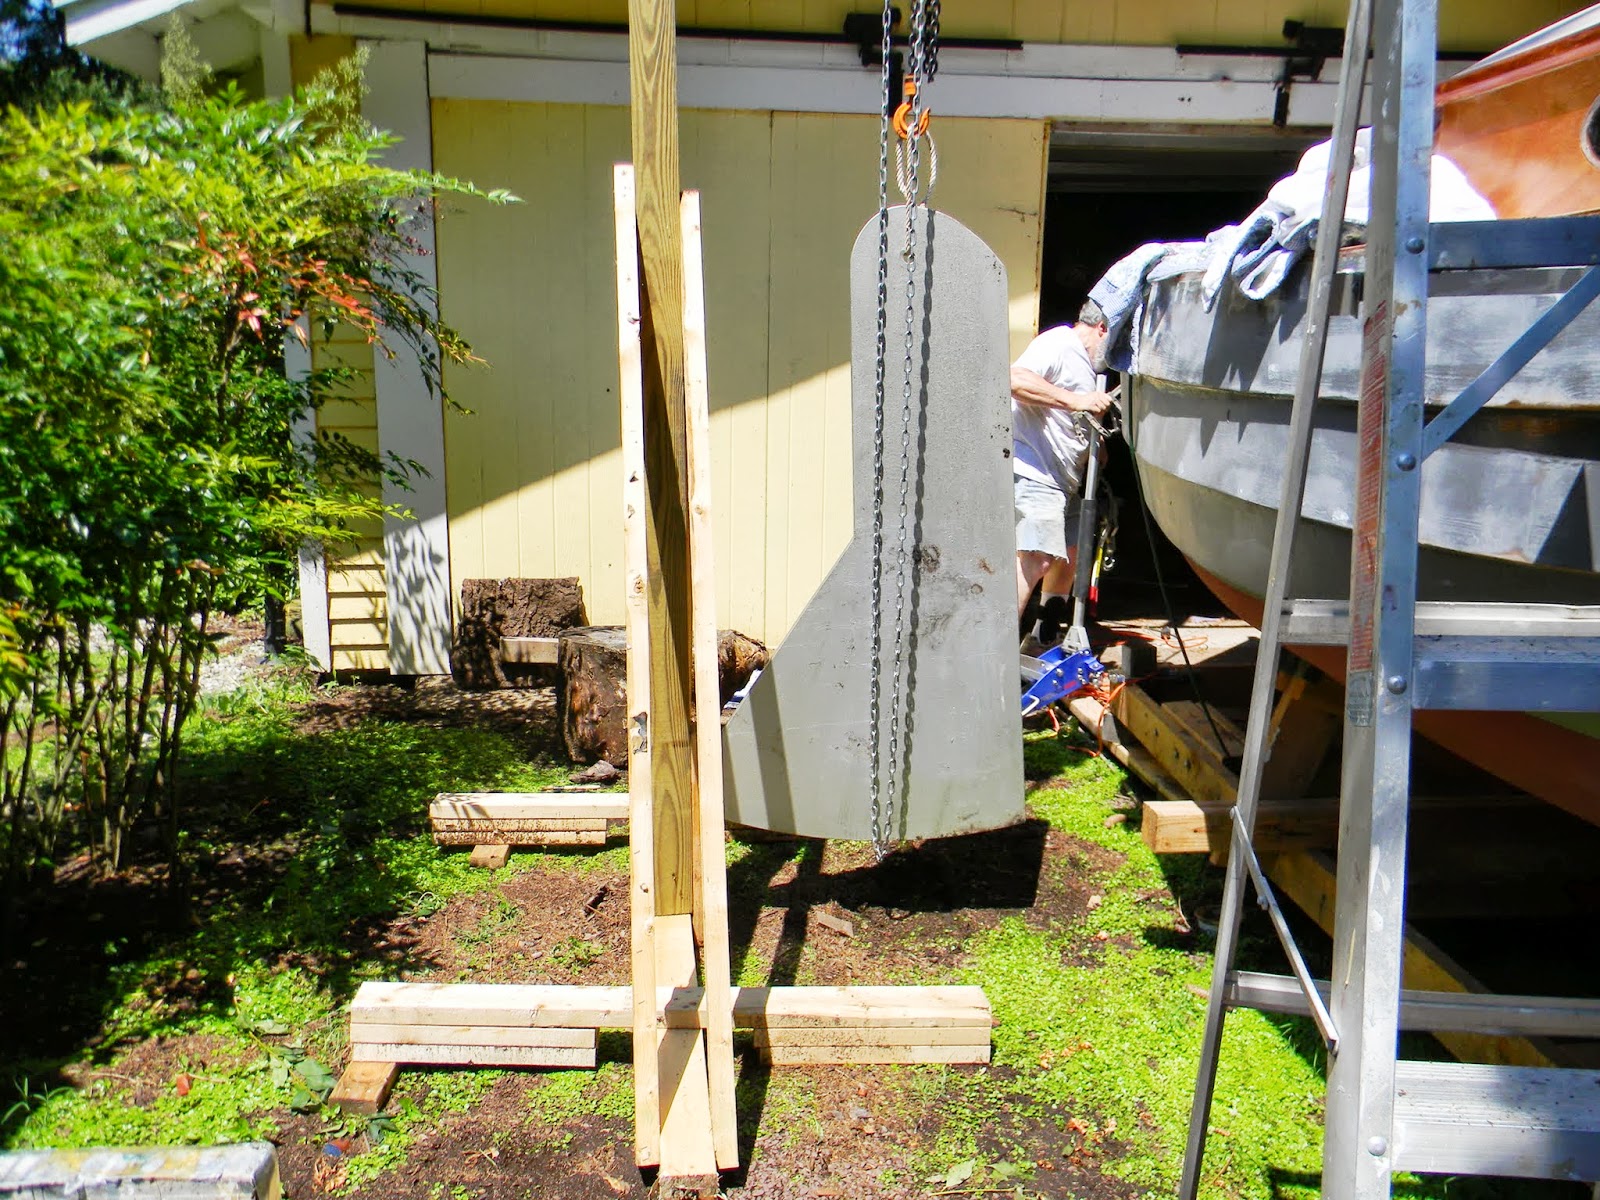 |
| Centerboard ready for bottom paint. |
 |
| The painted board centered over the keel.
In order to locate the board as close to its final position (fore to aft) as possible, I moved the boat backward about 4 feet, which was as far as I could go before I hit the cabin roof forward of the companionway. Yes, it would have been easier if I had put the board in prior to installing the cabin roof, but not much easier. Beside, the cabin roof beams and first layer of plywood were on my work schedule for early spring, and I really didn't want to waste that time.

This is as far forward as I could move the board by backing the boat up.
To move the board forward the last few inches, I tied a block-and-tackle to the compression post and to a clamp fastened to the forward edge of the board. Then, with my wife handling the rear, and letting out on the chain hoist, I hauled the board forward until it dropped into the slot.

The board is about to drop into the slot.
I was delighted (and much relieved) to find that the board actually fit without binding, and would not have to be removed and ground down! That has been my nightmare for the past couple of months. The only problem I encountered was that there is a bump of epoxy squeeze-out at the aft head ledger that I need to chisel out in order for the board to seat properly. I will need to borrow a nice long slick to get down into the slot to accomplish this, so it will have to wait for a day or two.
|
Hi Charles, bet you're glad you didnt drop that board !! Good practice run for engine install.
ReplyDeletewhen you got near to the final position I imagine you had to take off the forward rope in pivot hole. How did you manage to move board from then on and how have you got the pin in? I reckon your way of in from above looks the easier way to get the board in versus laying boat over and shoving in from under.
I like the way your windows have come up, perhaps better looking than brass surrounds or portholes etc.
I think seeing as you generously took your wife to europe the least she could do is allow a carport for boat, afterall where will you keep it when complete?
Looking forward to the engine chapter
A Andrew
Andrew,
ReplyDeleteI am VERY glad we didn't drop the board. I am a firm believer in the strength of the epoxy glued plywood lapstrake technique, but a 350 lb hunk of steel from a height of several feet would be too much of a challenge. As you observed, the last step required removing the line from the pivot hole. I put a clamp on the uppermost part of the forward edge of the board, and fastened my block and tackle to that. I think you can make it out in the last photo of this post.
I must say, of all the ways I thought to get the board into position, laying the boat on its side is not one of them. Maybe next time.
I have yet to insert the pin. I still need to chip away the epoxy squeeze out from the aft end of the case so I can shift the board back the last 1/2 inch. I borrowed a great big (18 inch long) slick for that purpose today, and will give it a try tomorrow.
I agree that the window design (which is Mr. Oughtred's, of course) looks good, and is much cheaper than buying regular bronze portholes -- either new or used. I made mahogany trim rings which should finish the windows off nicely on the outside.
I am going to do a week or two of varnishing and painting, mostly to calm my nerves after the centerboard experience, before tackling the engine.